
Power Automate + SharePoint HTTP: Registering an Azure App and Getting an Access Token
Power Automate flows often rely on the logged-in user’s SharePoint connection, which can be limiting for shared or enterprise-level solutions. When automations need to run independently of a specific user, a better approach is to authenticate using an Azure Entra app registration. This allows Power Automate to request access tokens and securely interact with SharePoint without relying on individual user credentials.
In this post, I’ll walk through how to register an Azure Entra app, create and securely store a client secret, and use it in Power Automate to retrieve an access token. This sets the foundation for app-based authentication with SharePoint and prepares you to start making authenticated HTTP calls.
Step 1: Create the Azure App Registration
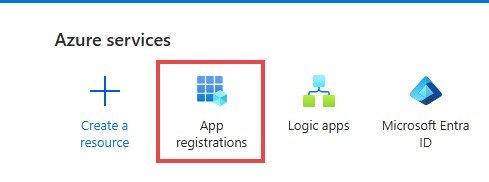
Go to Azure Portal ( https://portal.azure.com/ ) —> App Registration
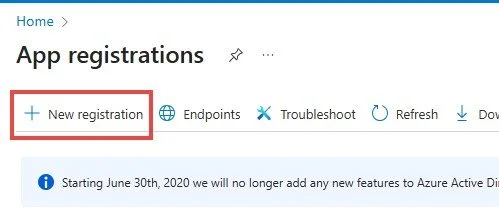
2. Select New Registration
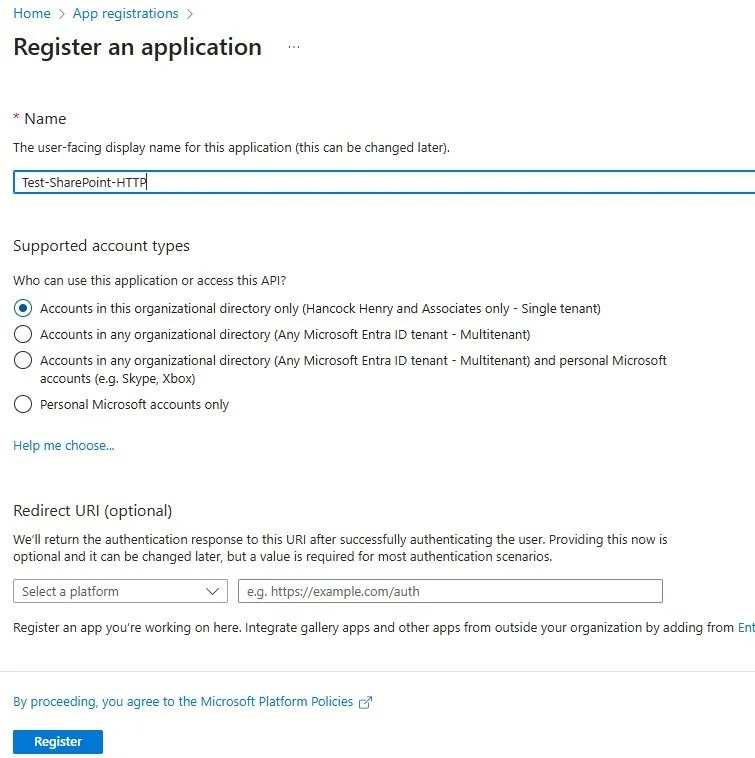
3. Register the app with a Name, Account type for Single tenant, and leave the Redirect URL blank
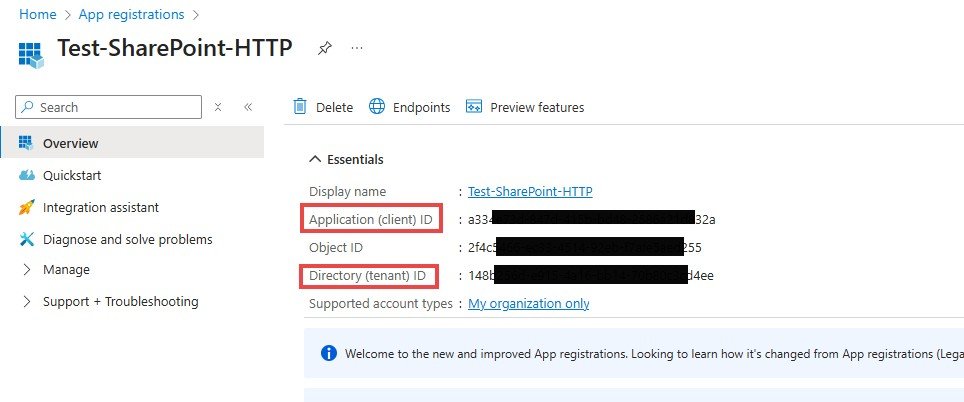
4. Document the Application (client) ID and the Directory (tenant) ID. These will be used later when accessing your SharePoint site.
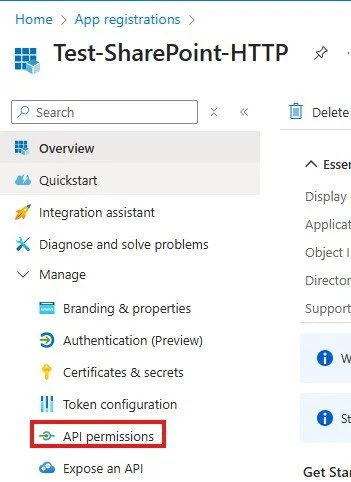
5. Select API permissions to allow the app to access SharePoint
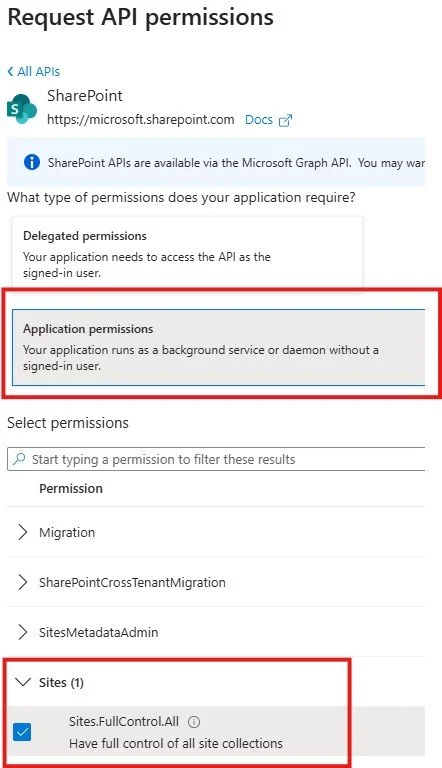
6. Select SharePoint —> Application Permissions —> Select Permissions: Sites.FullControll.All
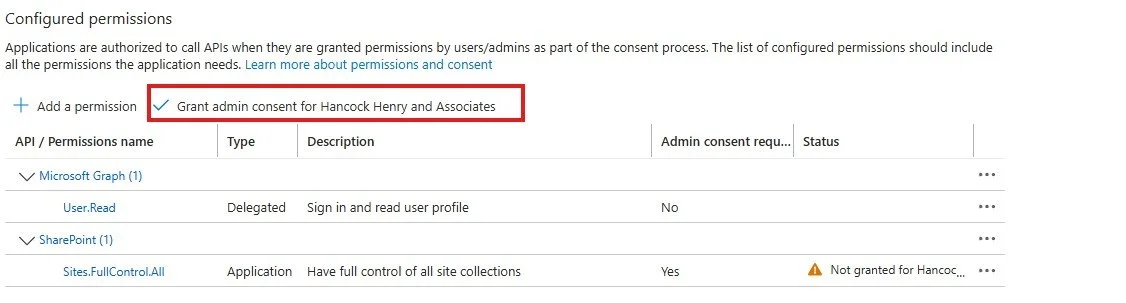
7. Grant admin consent for the new permission. NOTE: you need admin level access in Azure to do this. If you don’t have this access ask your Azure admin to complete this part.
8. Select Certificates & secrets

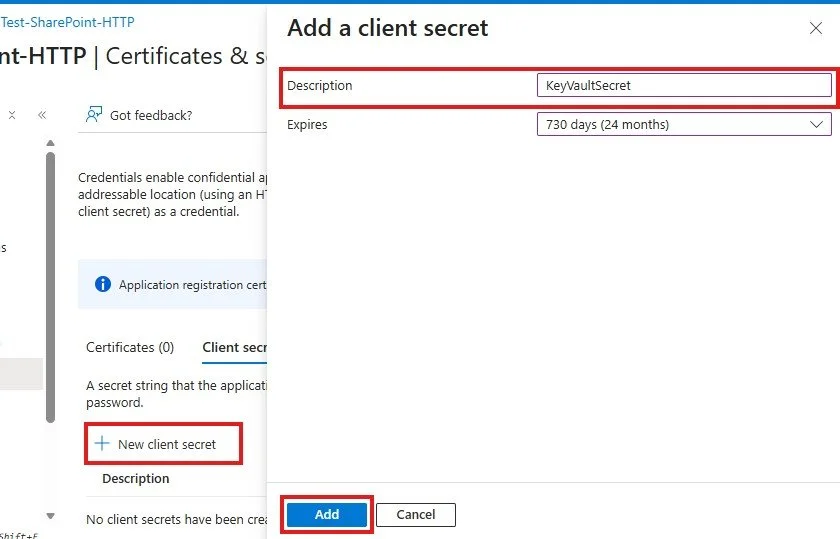
9. Select New client secret and add a description for your secret. Select the expiration date for your secret. Typically, I select 24 months.
10. Record the Secret value immediately after the secret is added. This value will not display again. NOTE: if you make a mistake and forget to select it you can always create a new secret.

Step 2: Secret Key Vault
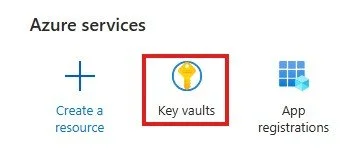
Go back to the Azure home page and select Key Vault
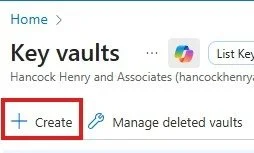
2. Select Create to create you vault
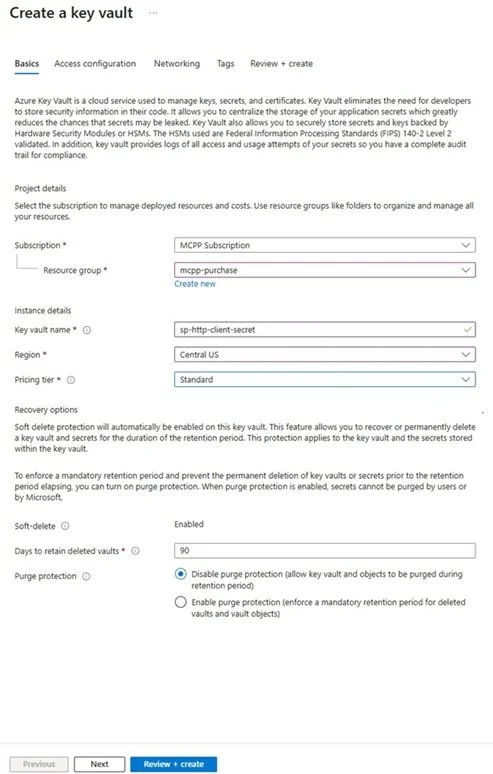
3. Select the Subscription and Resource Group you want to utilize, give the vault a Name, select the Region, and pricing tier you want to use.
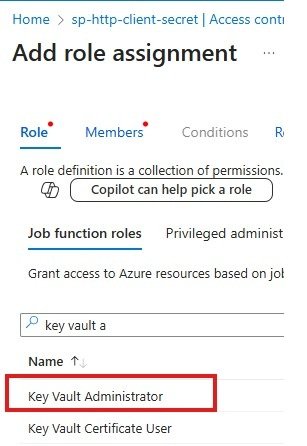
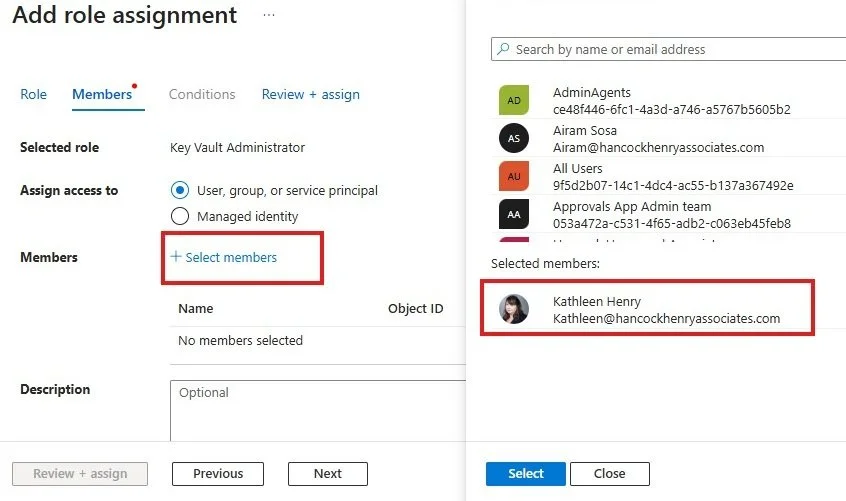
4. Add Access control (IAM). This allows you and your desired users to access the Key Vault
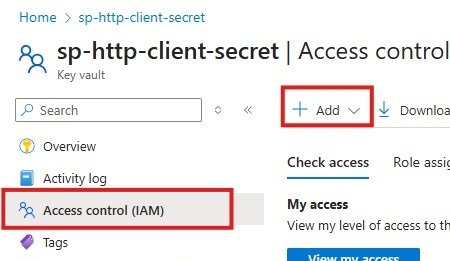
5. Search for the role Key Vault Administrator and add that to yourself and anyone else who needs to access the key.
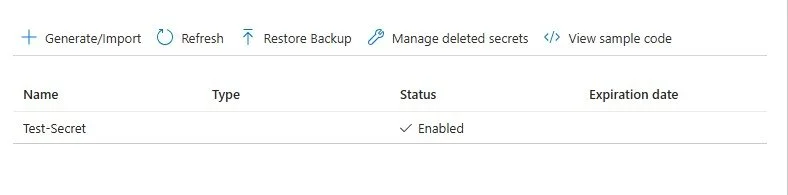
6. Select Secrets and Generate/Import
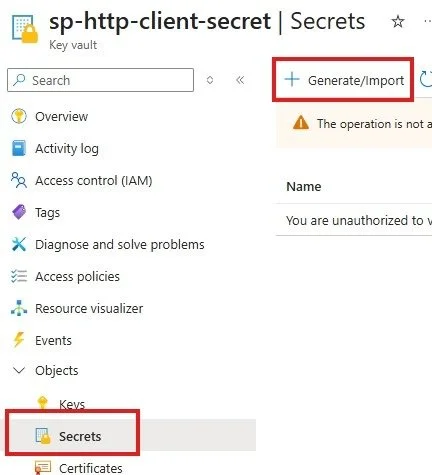
7. Give your secret a name and enter in the Secret Value that you copied earlier from you app.
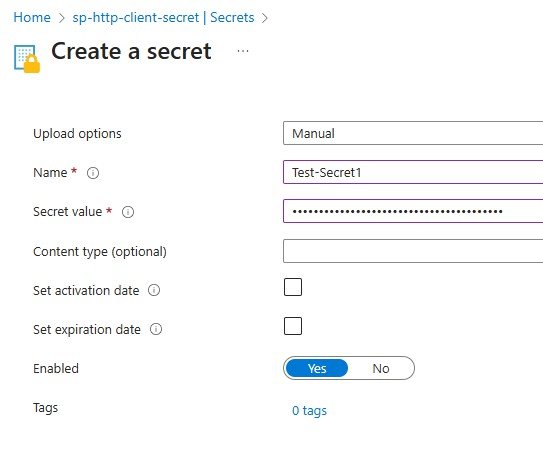
8. Check to make sure your secret has been created. If you don’t have the correct Admin permissions for this specific vault you will not be able to create the secret.
Step 3: Access SharePoint Token in Power Automate
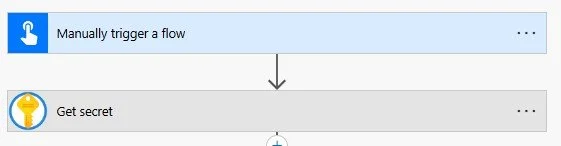
Create Power Automate Flow and select Azure Key Vault to access your secret key
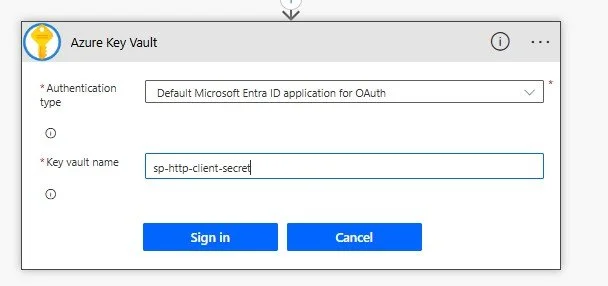
2. Create a connection to Azure. The option I used for this instance weas Authentication Type: Default Microsoft Entra ID application for OAuth. The Key vault name you previously created is utilized for the login.
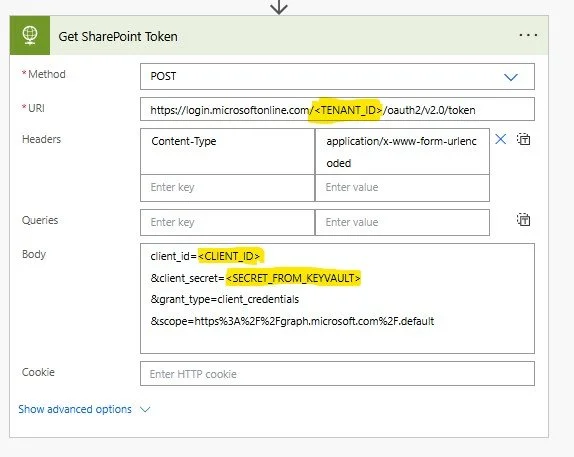
3. Create HTTP call utilizing the following details:
Method: POST
URI: https://login.microsoftonline.com/<TENANTID>/oauth2/v2.0/token (NOTE: TENANT_ID is the Directory ID from your app)
Headers: Content-Type : application/x-www-form-urlencoded
Body:
clientid=<CLIENTID> (NOTE: CLIENT_ID is the Application ID from your app)
&client_secret=<SECRET_FROM_KEYVAULT> (NOTE: this comes from the value of your Get Secret step)
&grant_type=client_credentials
&scope=https%3A%2F%2Fgraph.microsoft.com%2F.default
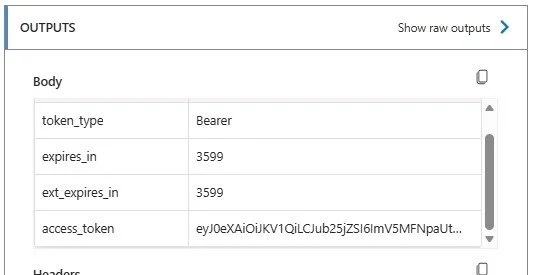
4. Test your flow to check that you are getting a token value from the http call
Conclusion
Setting up app-based authentication with Azure Entra can feel a little intimidating at first, especially if you don’t spend all your time working in Azure. While the steps themselves are very doable, the biggest source of friction is often permissions rather than the technical configuration. Throughout this process, it’s important to make sure you either have the required Azure roles or know exactly who on your team does. Even with full admin access in Power Automate and SharePoint, missing or misaligned Azure permissions can quickly stall progress — something I ran into myself the first time I worked through this setup. Keeping permissions in mind from the start can save a lot of time and frustration and make this approach much smoother to implement.